
Set a Chapter or Scene to Archived
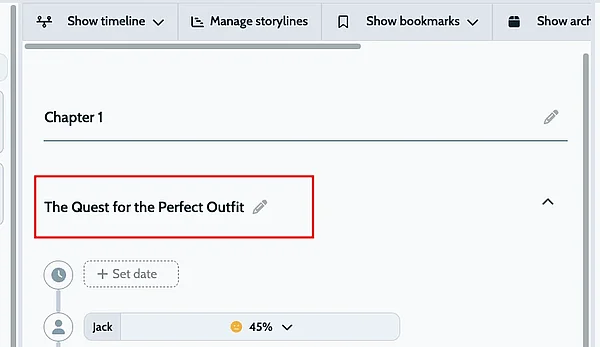
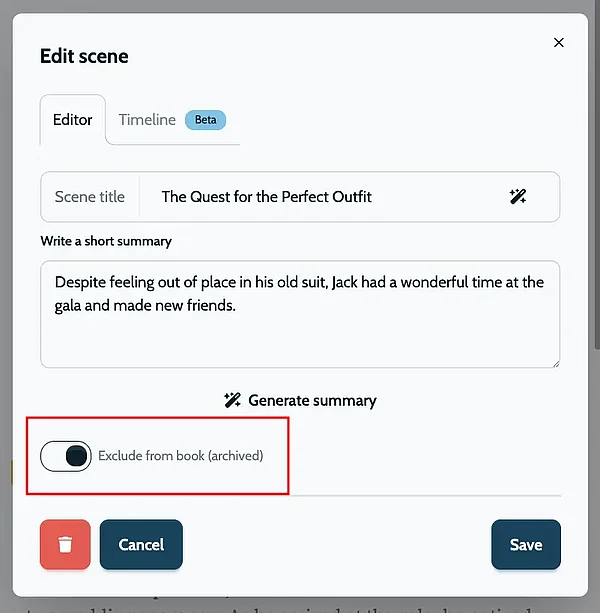
To exclude a scene using our novel writing software, simply click on the title of the related chapter or scene. This opens the edit popup where you can adjust the main manuscript settings for that scene. You will find the archive toggle at the bottom of the window; activate it to archive the scene, or deactivate it to make the text visible again in the reading panel.
When the scene is saved, it will be automatically marked as archived. It will no longer be visible in the reading panel or in your workspace.
How to Show Archived Content
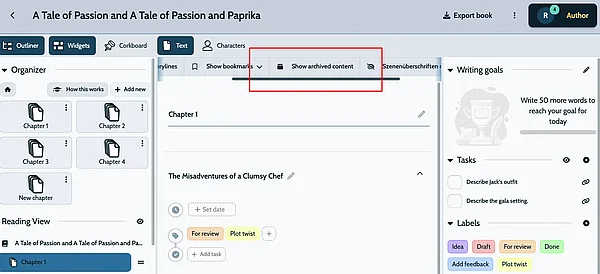
To show archived content in your book project, use the “Show archived” button in the secondary navigation bar. This will make all archived entries visible - in both the workspace and the reading view. When enabled, you can edit the related chapters and scenes again and unarchive them. Then they will be included in the book export and visible by default in the reading view.
Archived Content in the Reading View
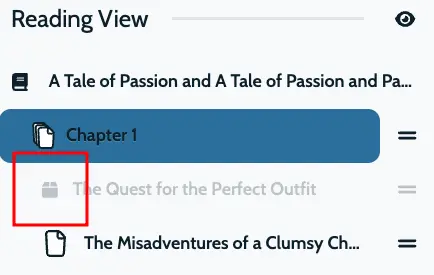
Archived content in the reading view is marked in a slightly grey color and has a small box icon in front of it. To see these items in the reading panel, you must enable the global setting “Show archived” as described above.
Archived Content in the Workspace
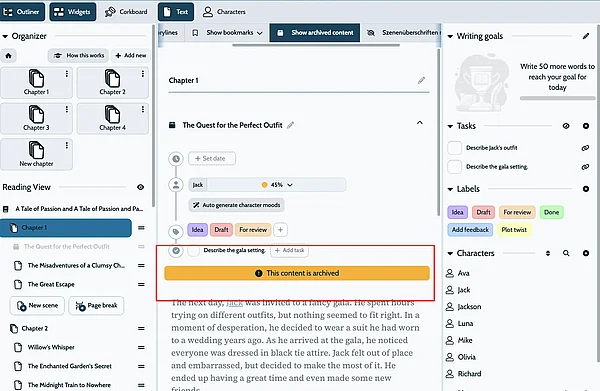
When you select archived content in the sidebar, you’ll see a notification below the scene title. You can edit the scene to unarchive the related content block. While a scene is archived, it is not possible to modify its content.